Clients registration and editing
Menu → Clients
In this article, you will have access to information on:
When licensing a film or series, it is necessary to specify which client the license will be for.To register and edit clients, access the Clientsgo to the Clients in the page in the Main MenuWatch the demonstration video below:
Registering Clients
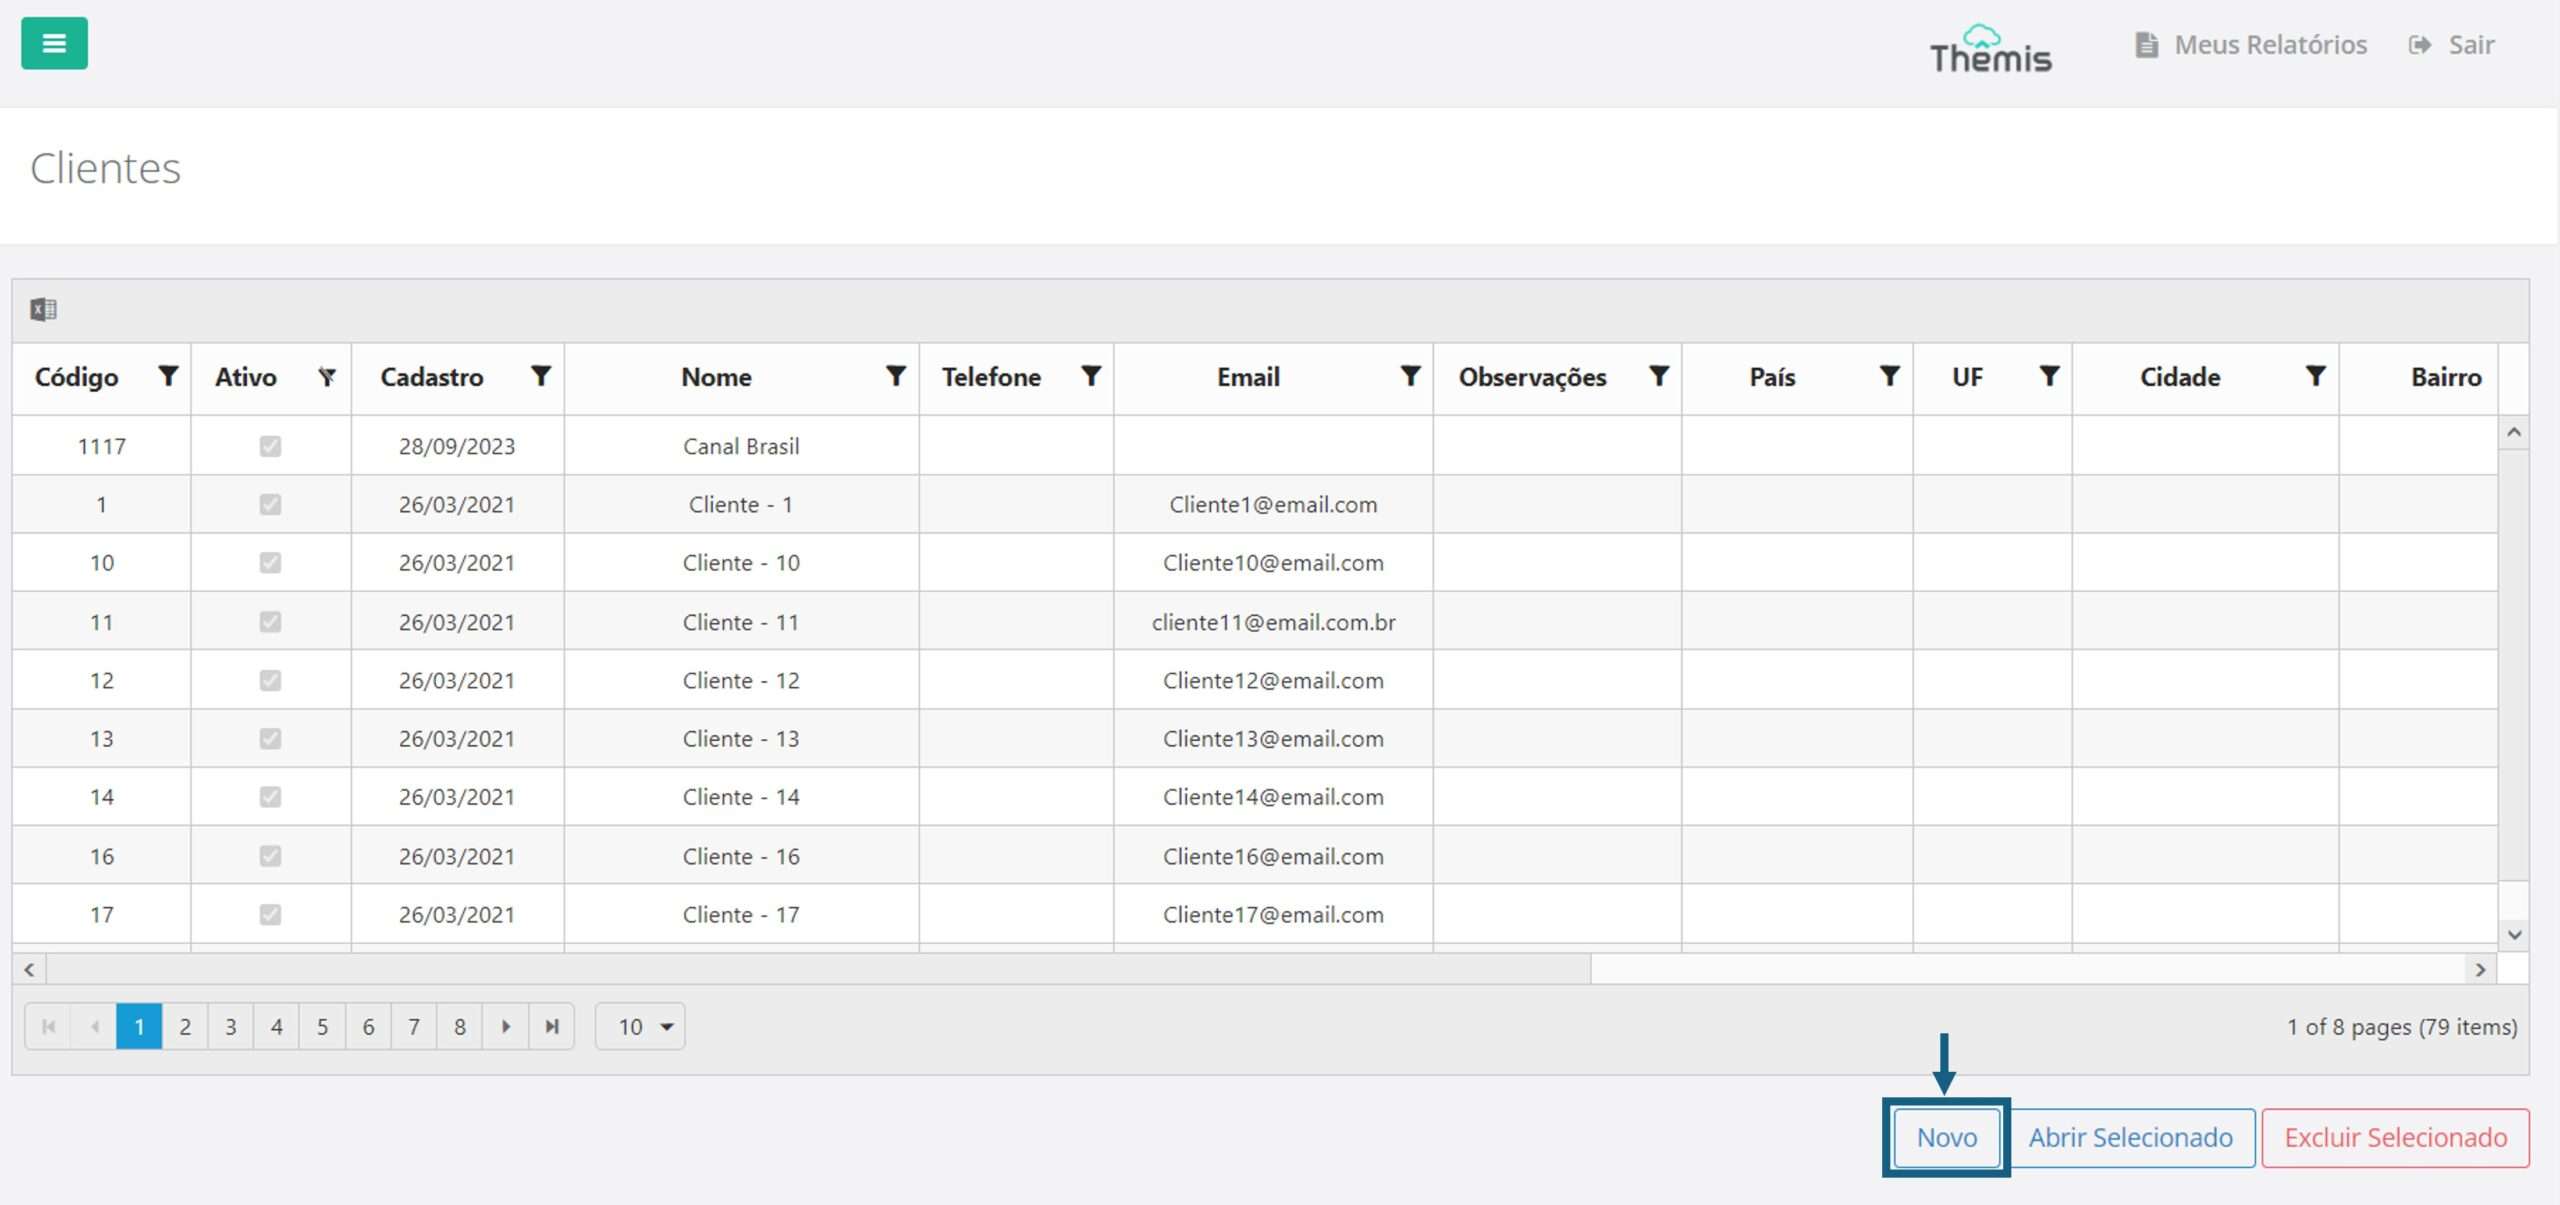
Upon accessing the **Clients** page, you will see a list of registered clients. To add a new client, click “New”:
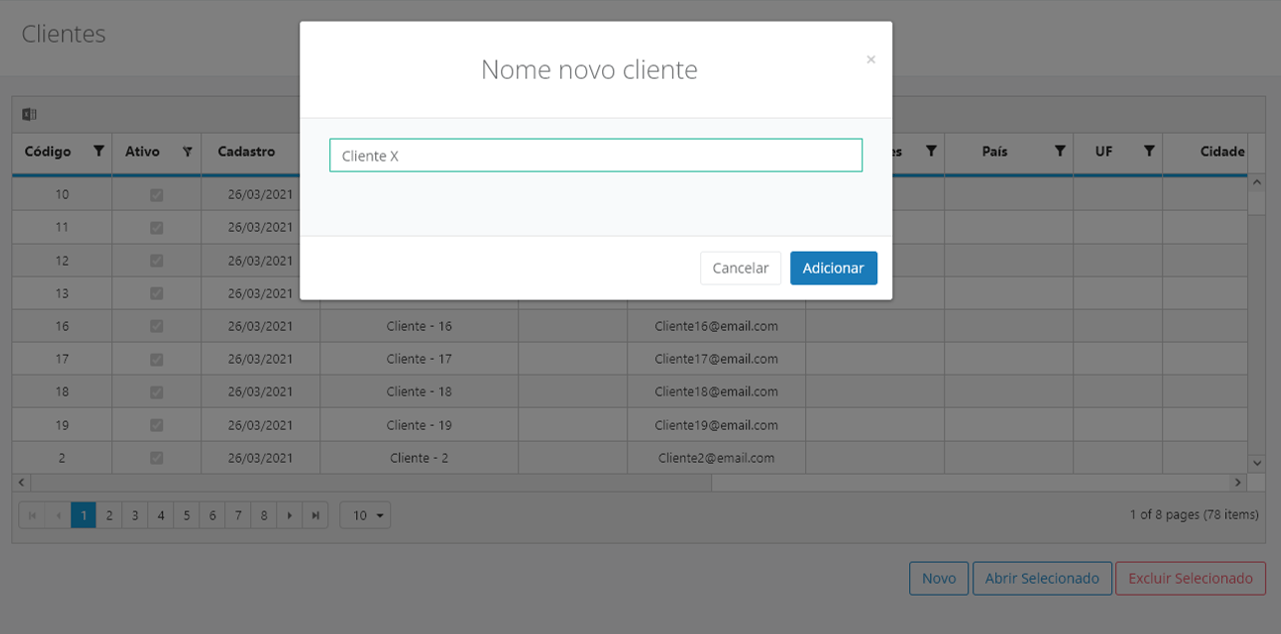
Enter the client's name in the pop-up window that appears and click "Add":
In the next screen, fill in the requested additional information to complete the client's registration:
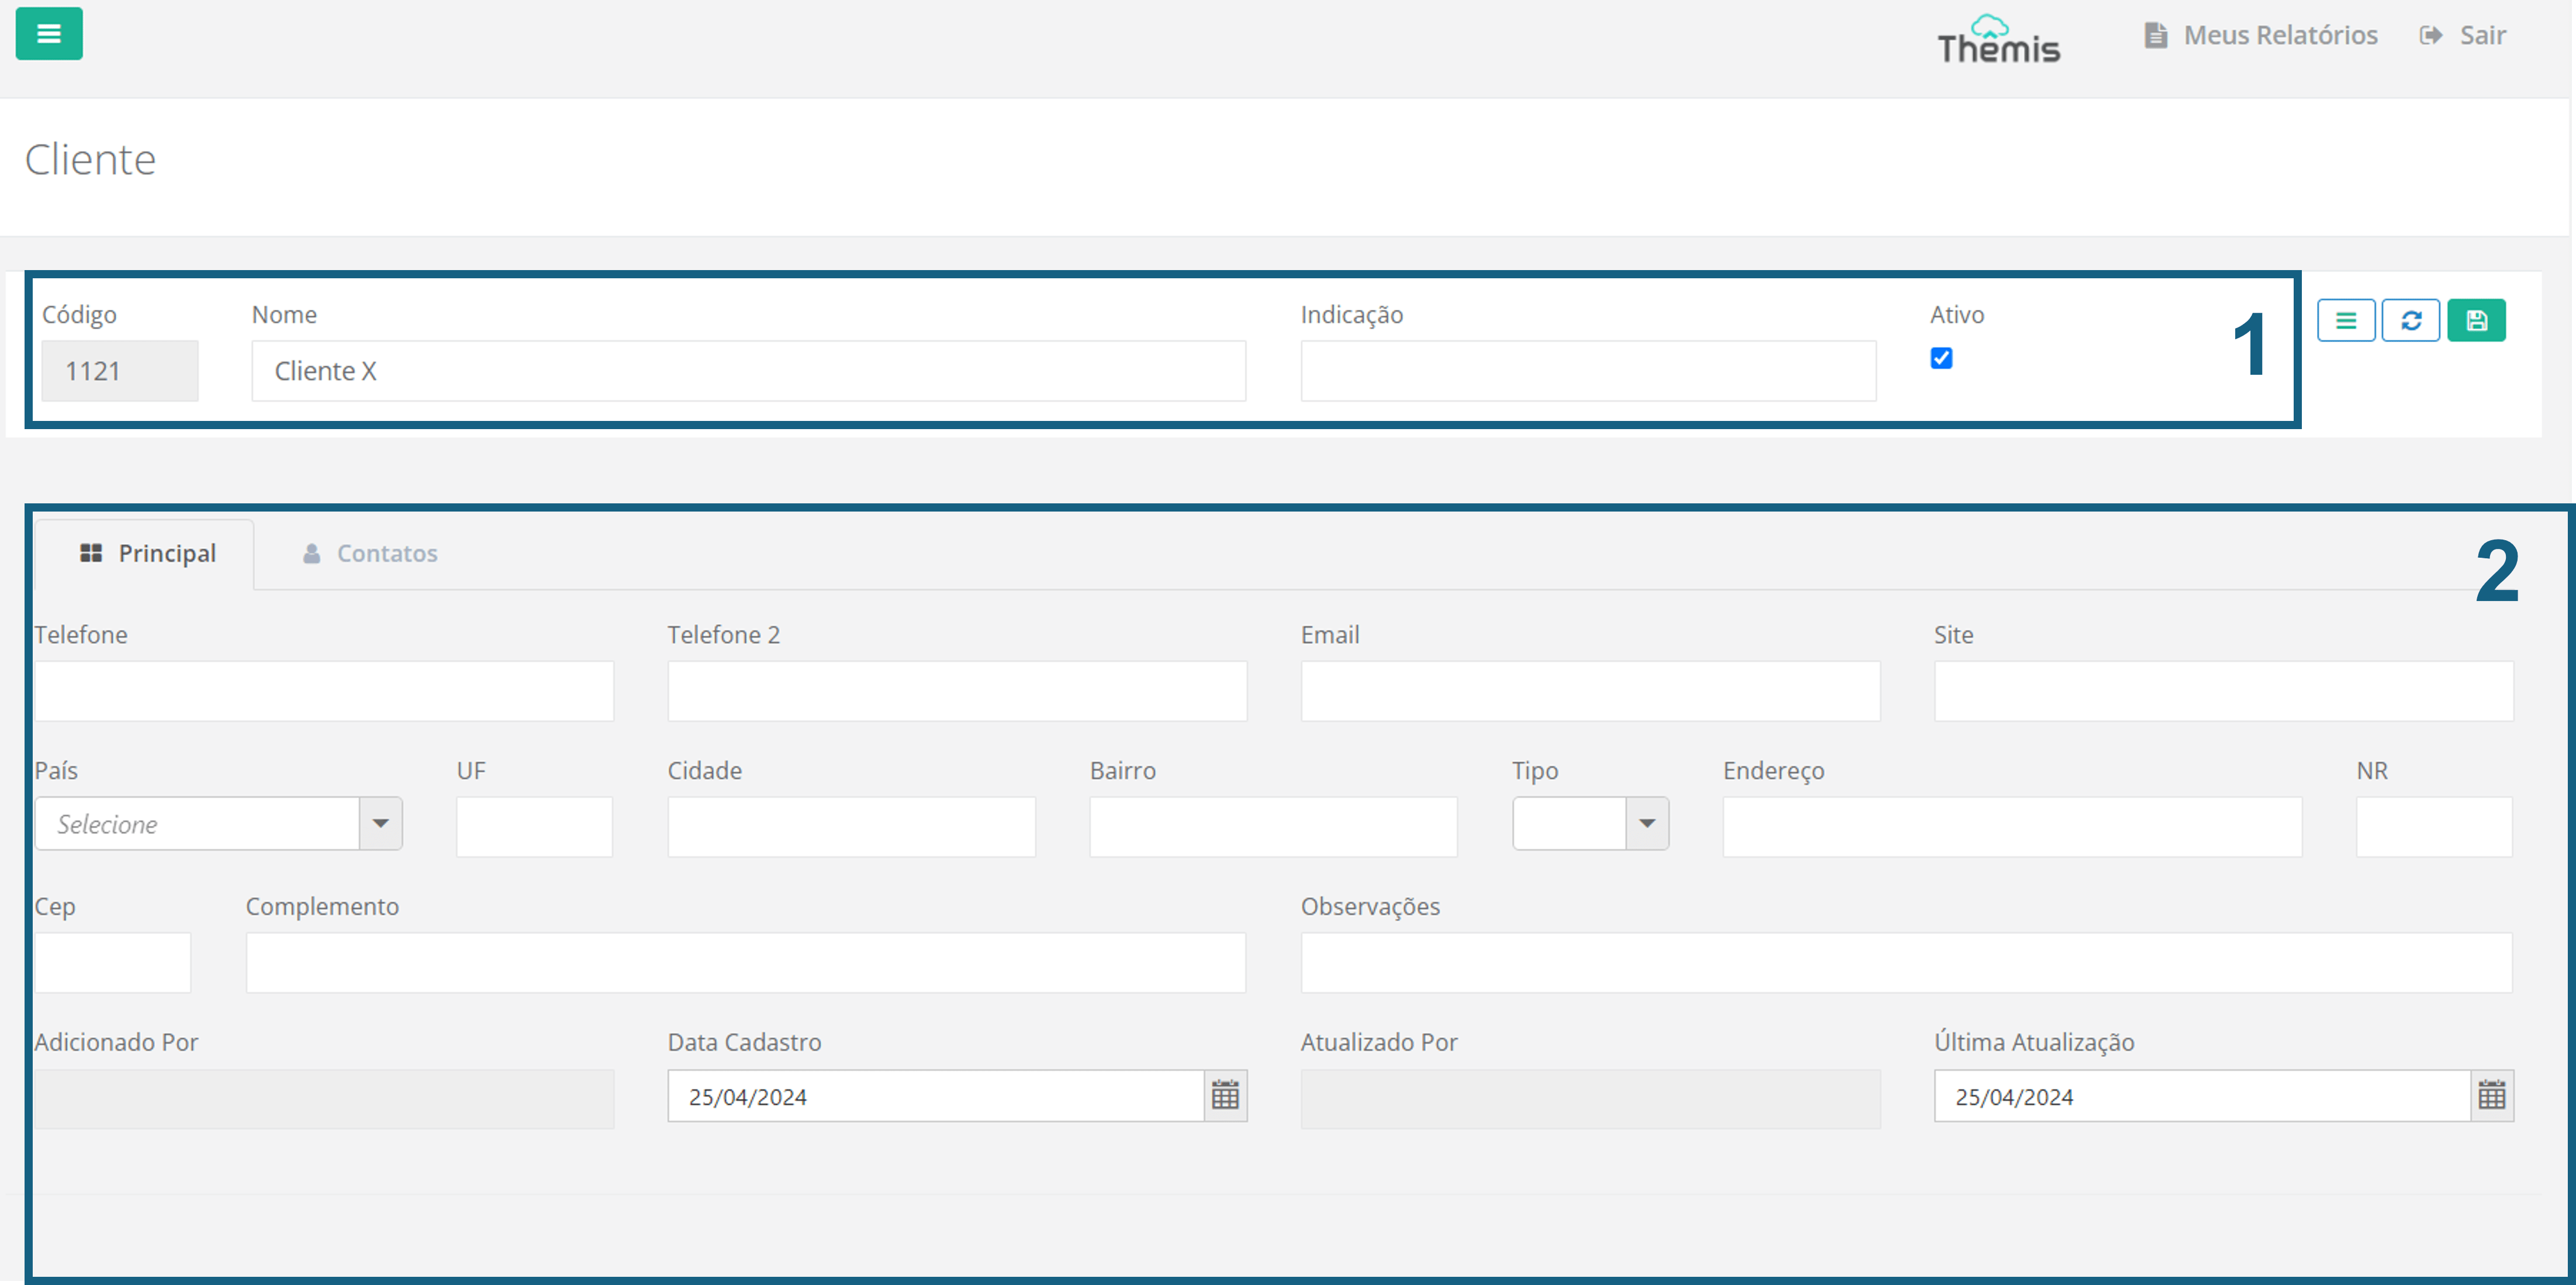
- Step 1 - Fields:
- Code: Automatically filled by the system without editing options.
- Name: Enter the client’s full name.
- Referral: Optionally, fill in the client’s referral name.
- Active: Refers to the status of the client. This checkbox is pre-selected when creating a client record. The client’s profile will be inactive if the checkbox is unchecked.
- Step 2, Fill in additional registration information such as phone numbers, email, website, and full address. The "registration date" and "last update" fields are automatically filled by the system.
- Step 3 - Contacts Tab:** To register the client’s contacts, click the "+" icon to add a new contact:
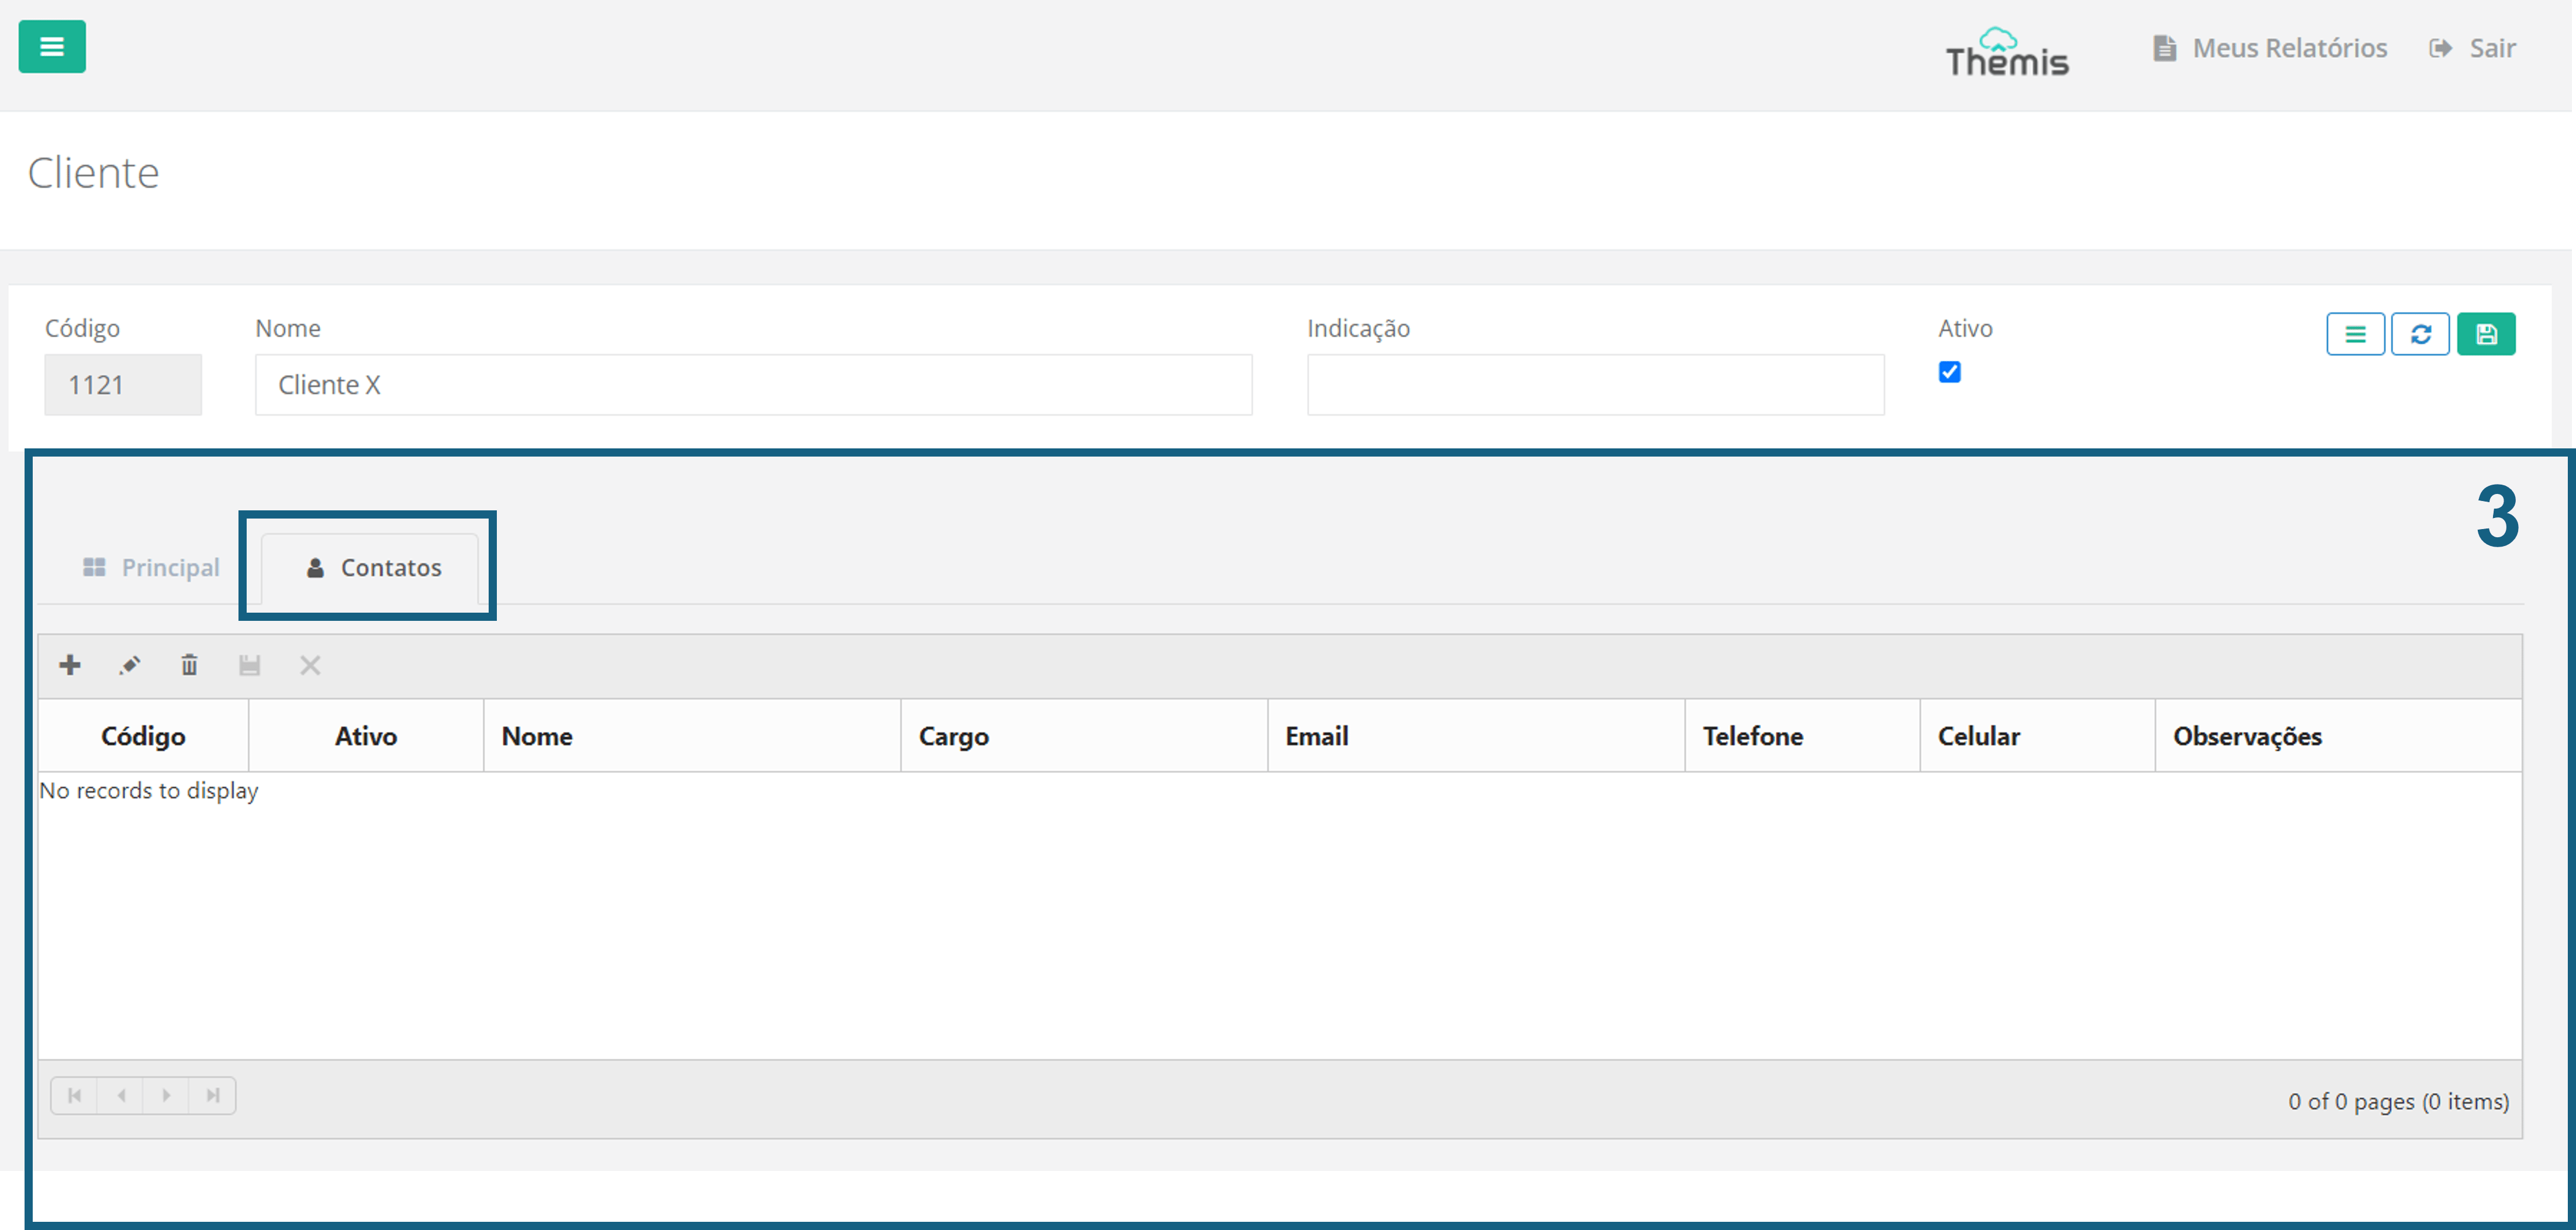
- Click the “+” icon to add a new contact:
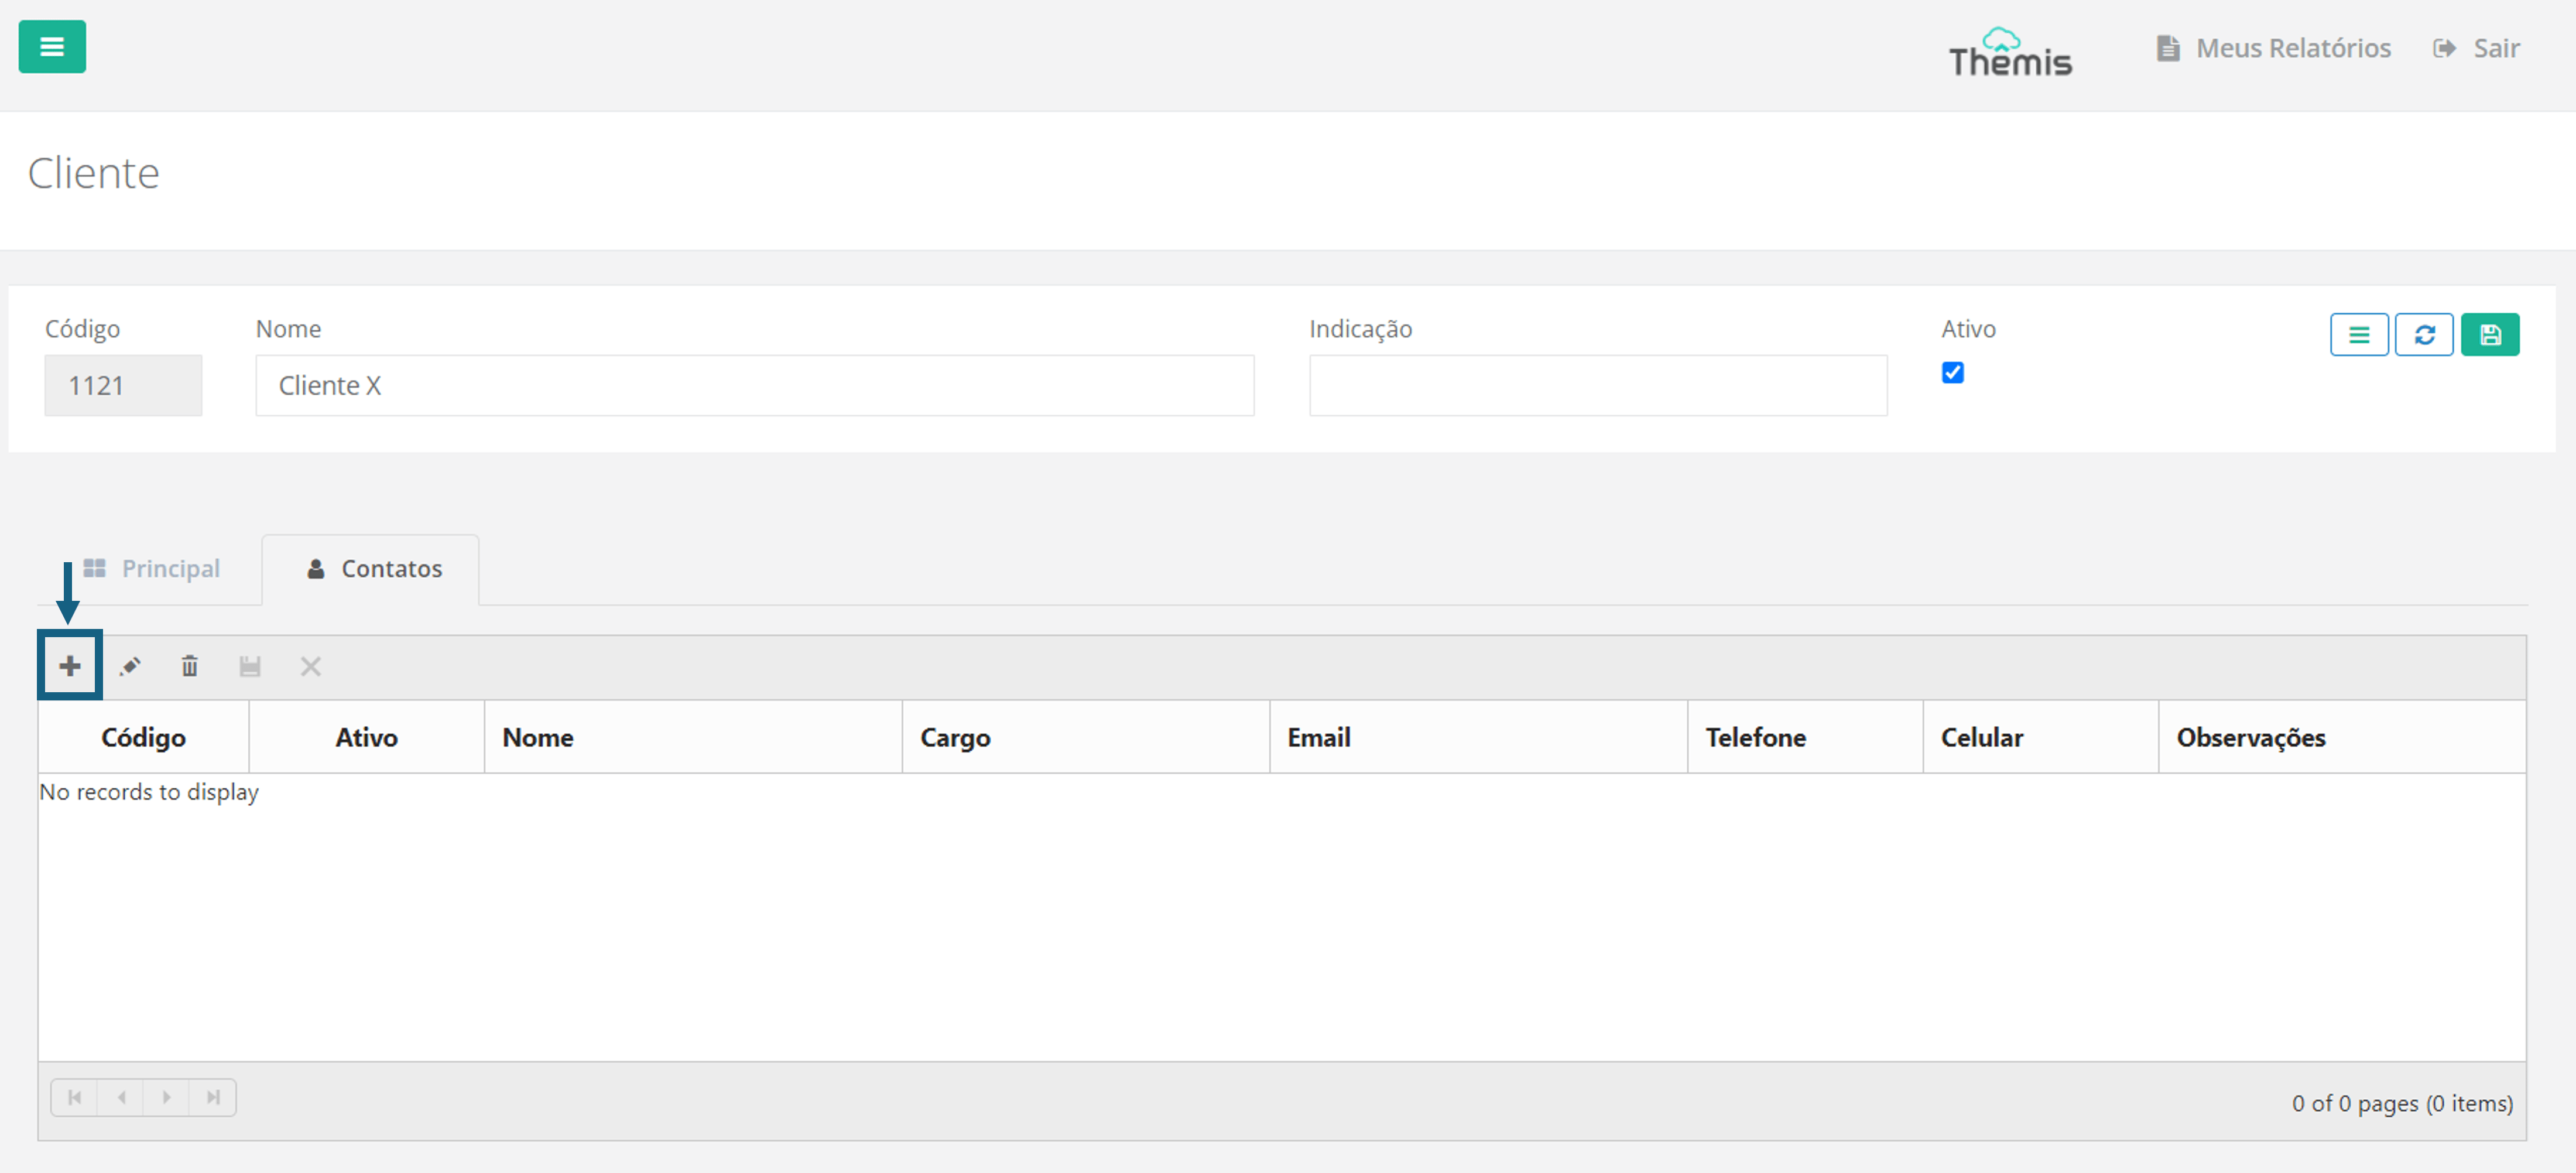
- Below the "Contacts" table, new fields will appear to be filled with the contact's:
- Code: Automatically filled by the system without editing options.
- Active: Refers to the status of the client’s contact. This checkbox is pre-selected when creating a contact record. The client’s contact will be inactive if the checkbox is unchecked.
- Other fields: Fill in the requested fields.
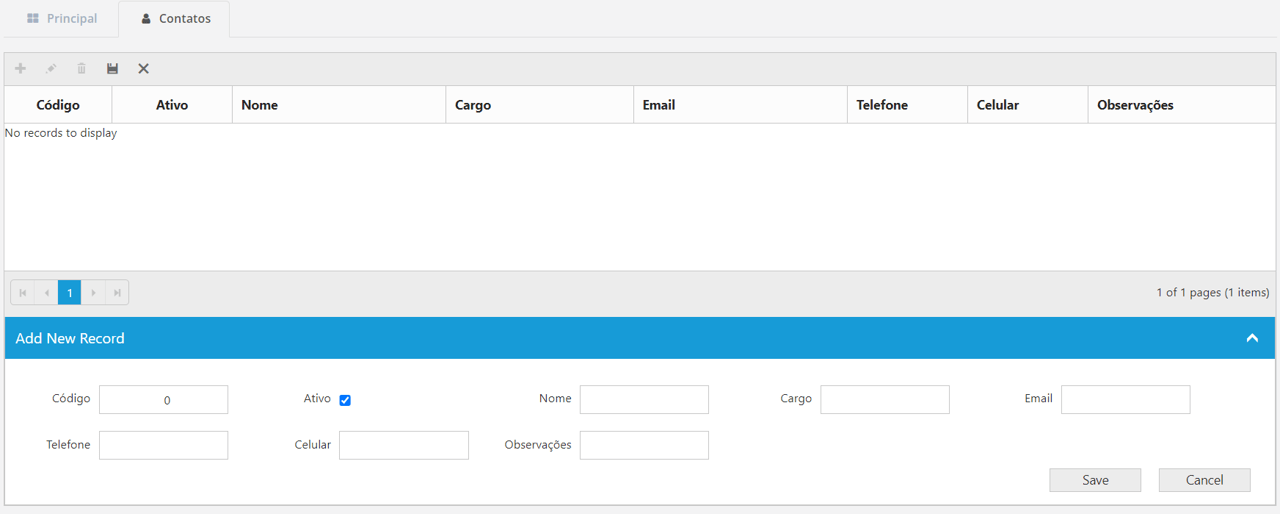
- Finally, click "Save" to save the client’s contact. The new contact will appear in the list:
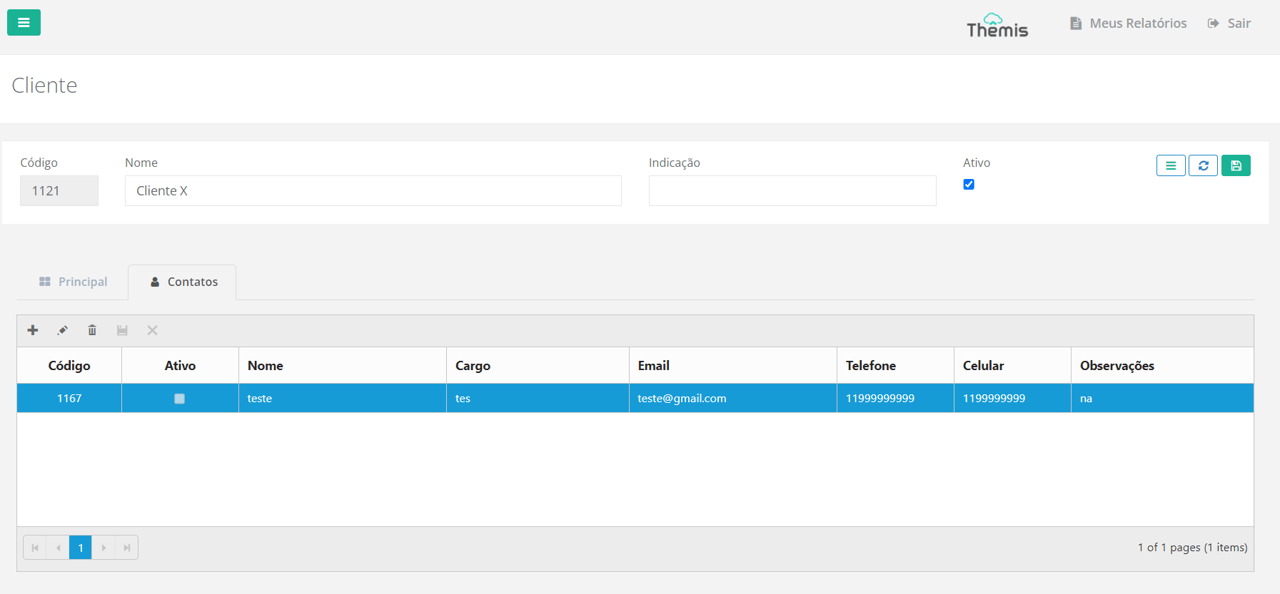
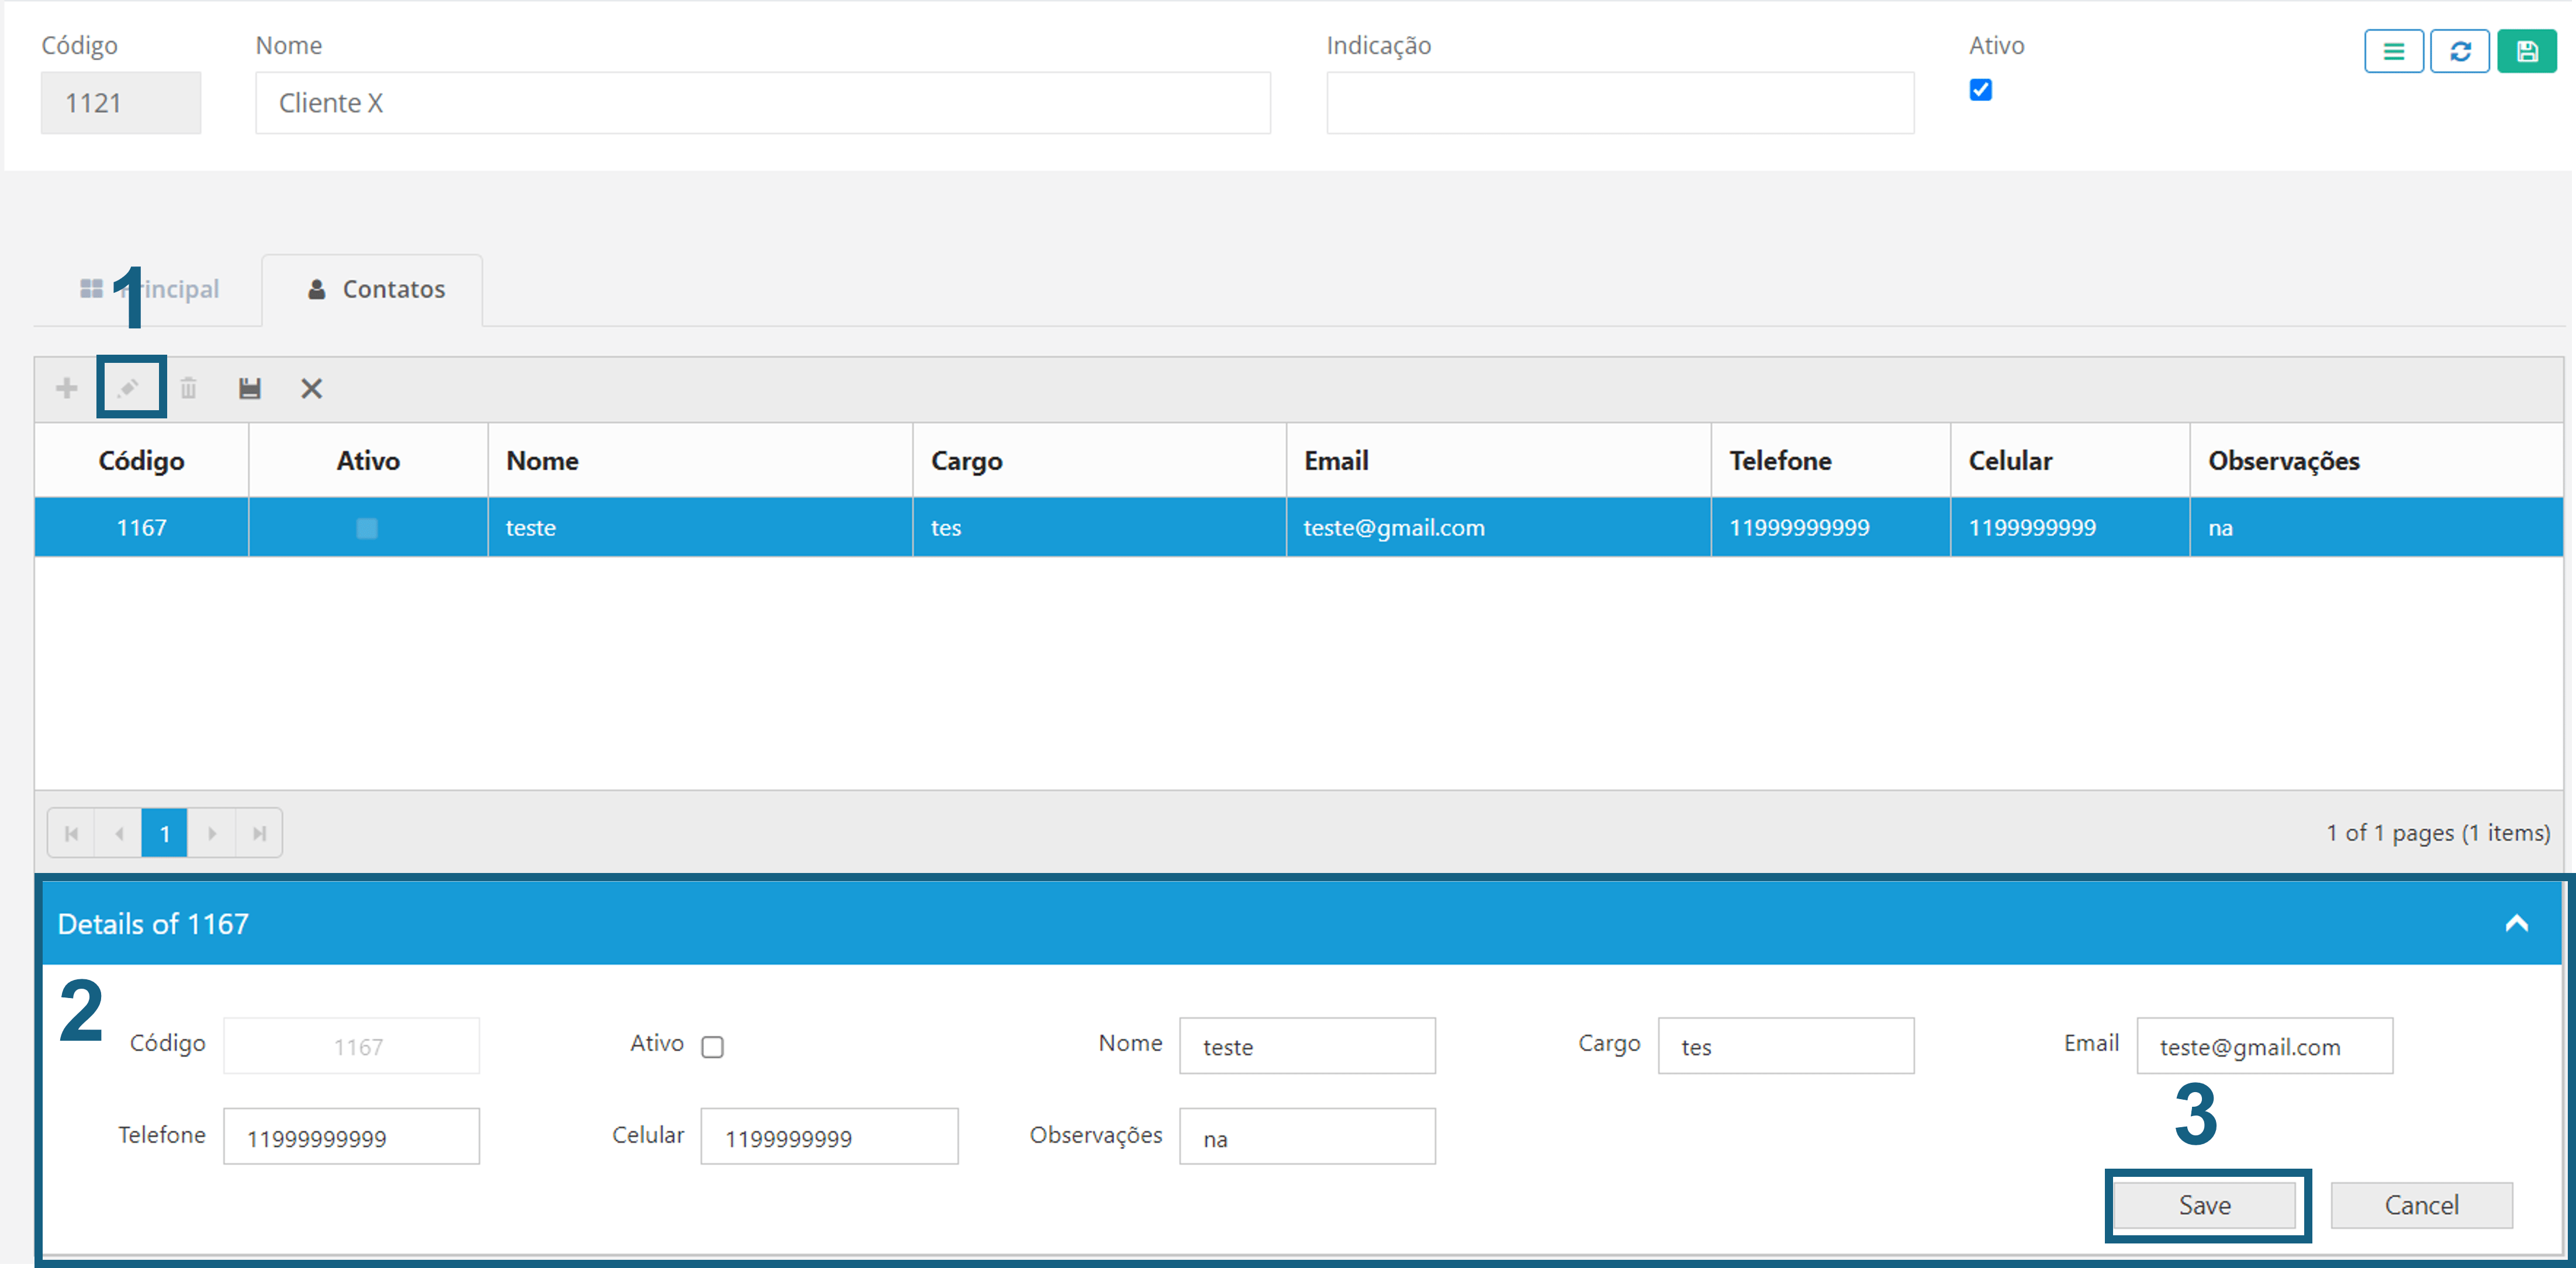
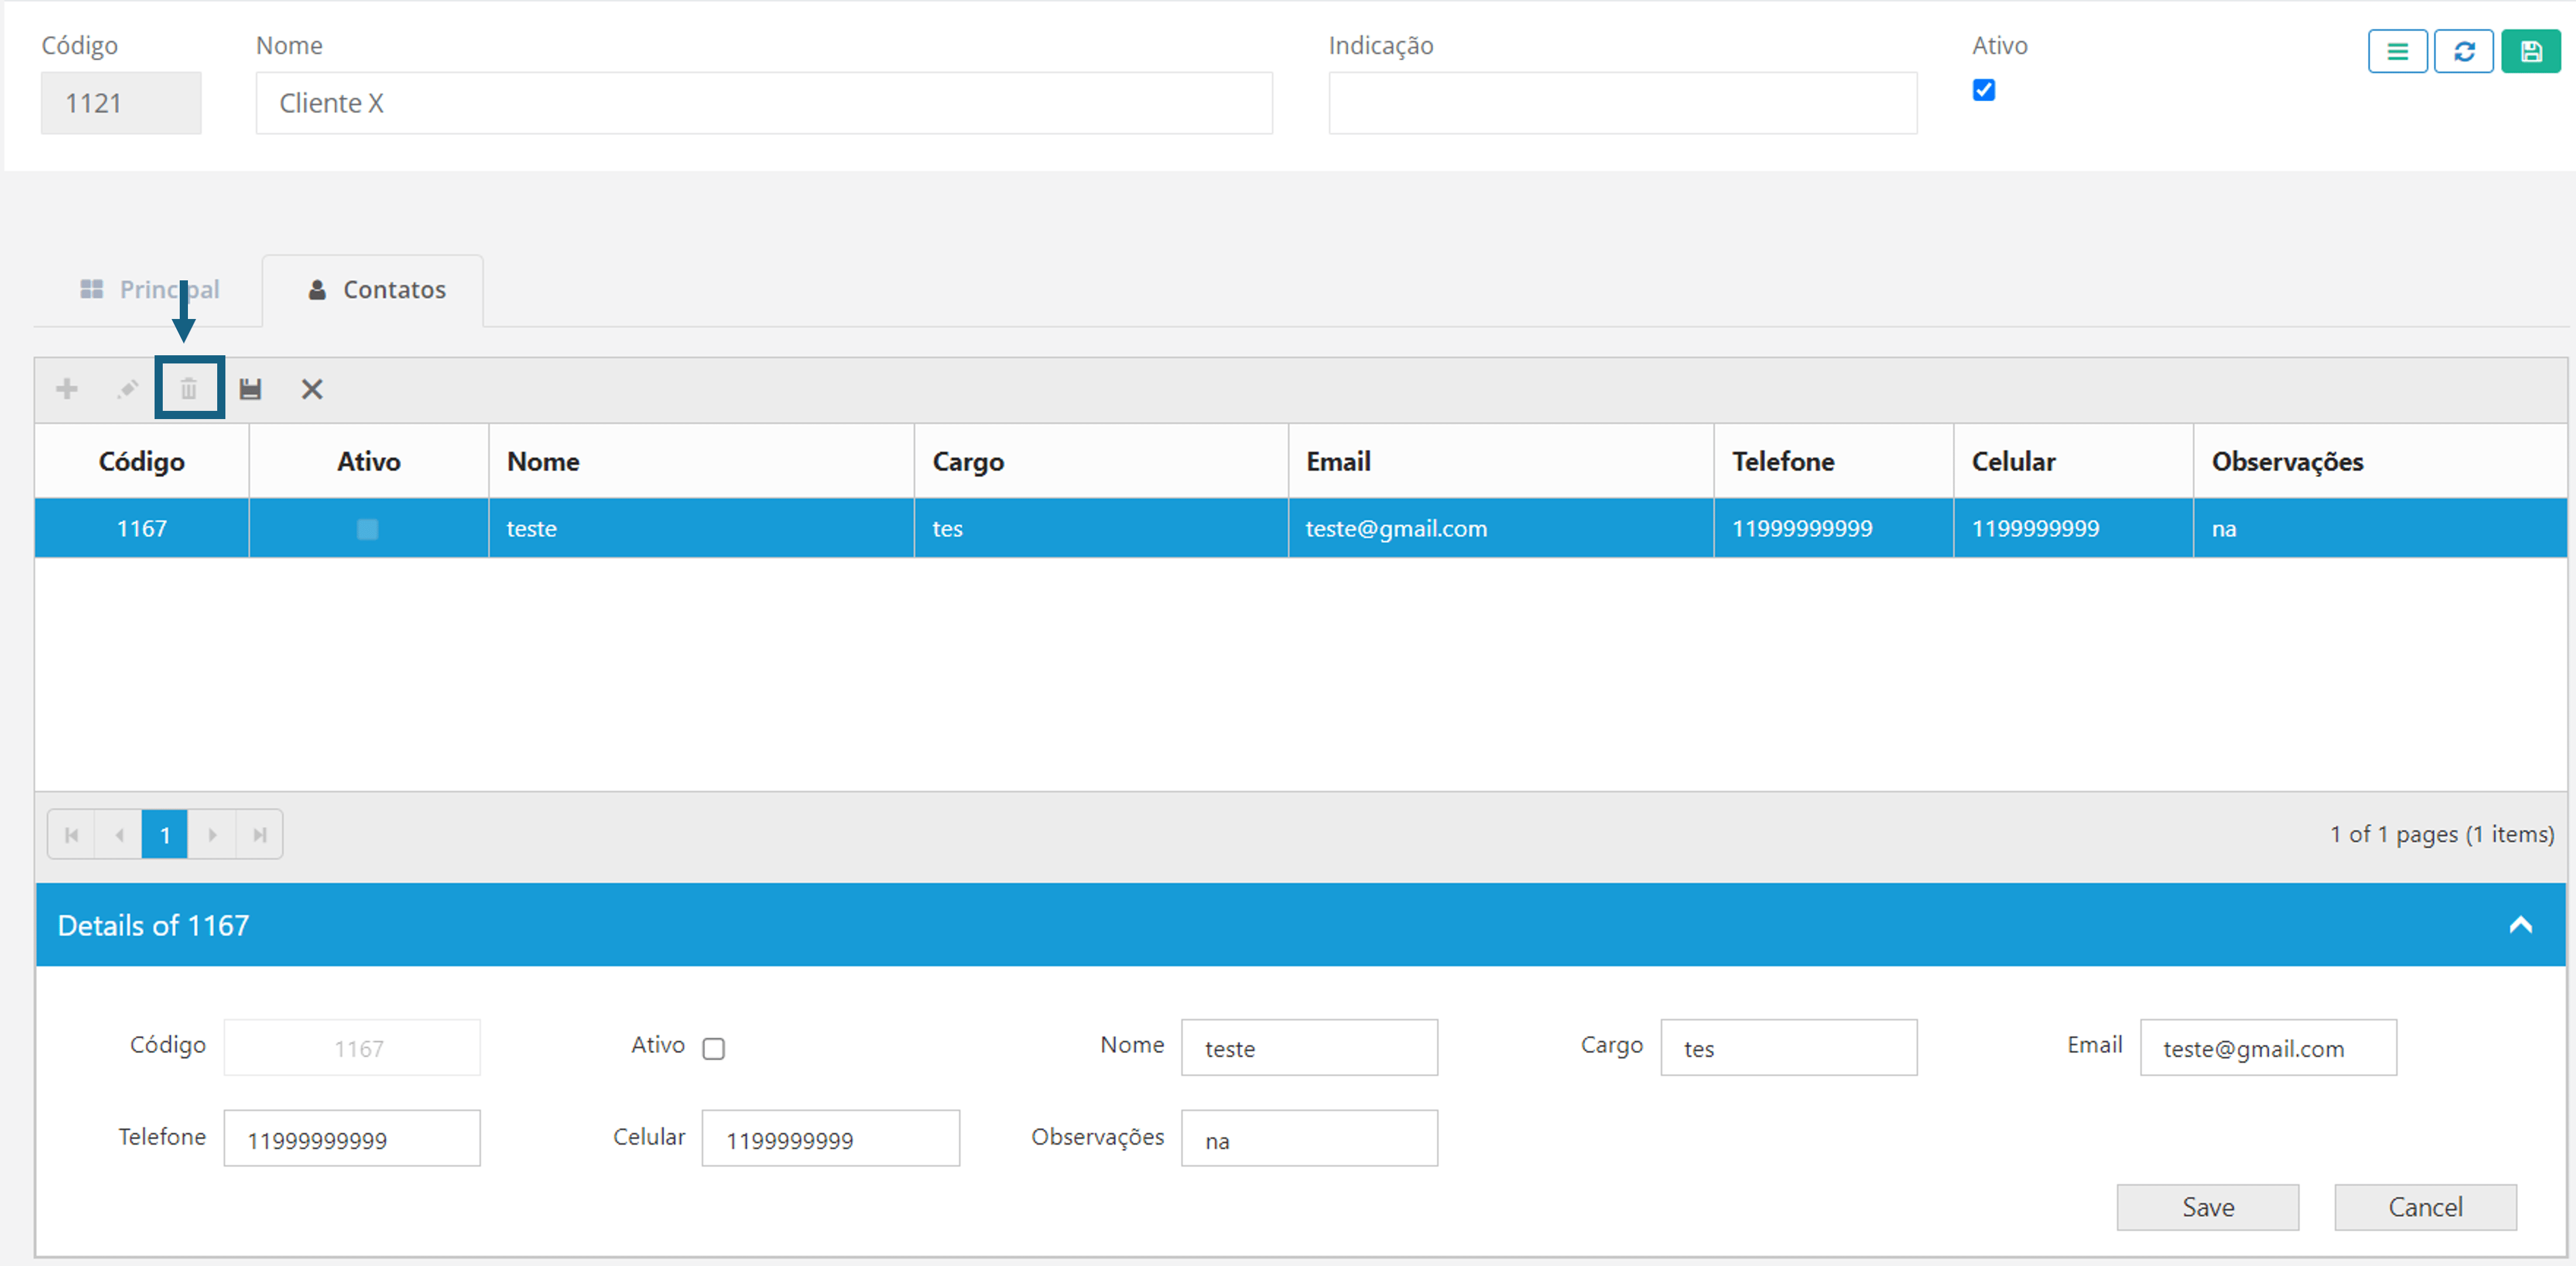
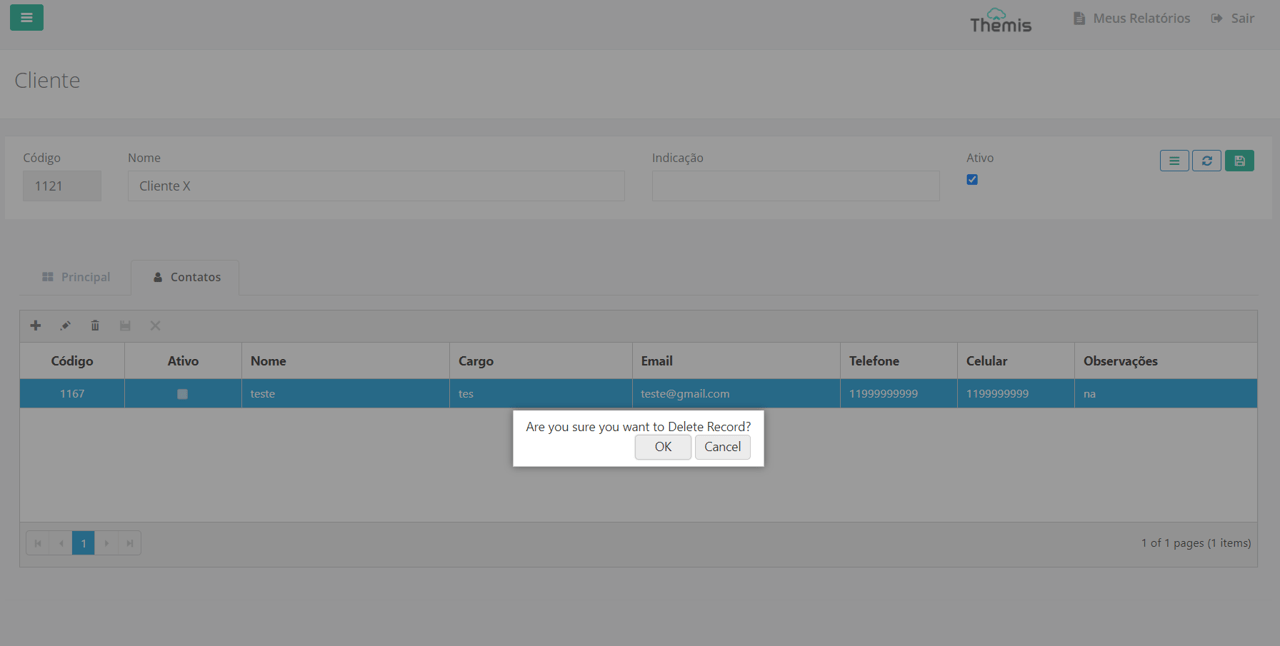
- Still in Step 3 - Contacts Tab, you can edit or delete a contact linked to the client’s record.
- To edit a client’s contact, select the contact and click the pencil icon or double-click the contact to be edited. Then, edit the necessary fields and click "Save."
- To delete a client’s contact, select the contact and click the trash icon. A confirmation pop-up will appear. Click "OK" to confirm the deletion:
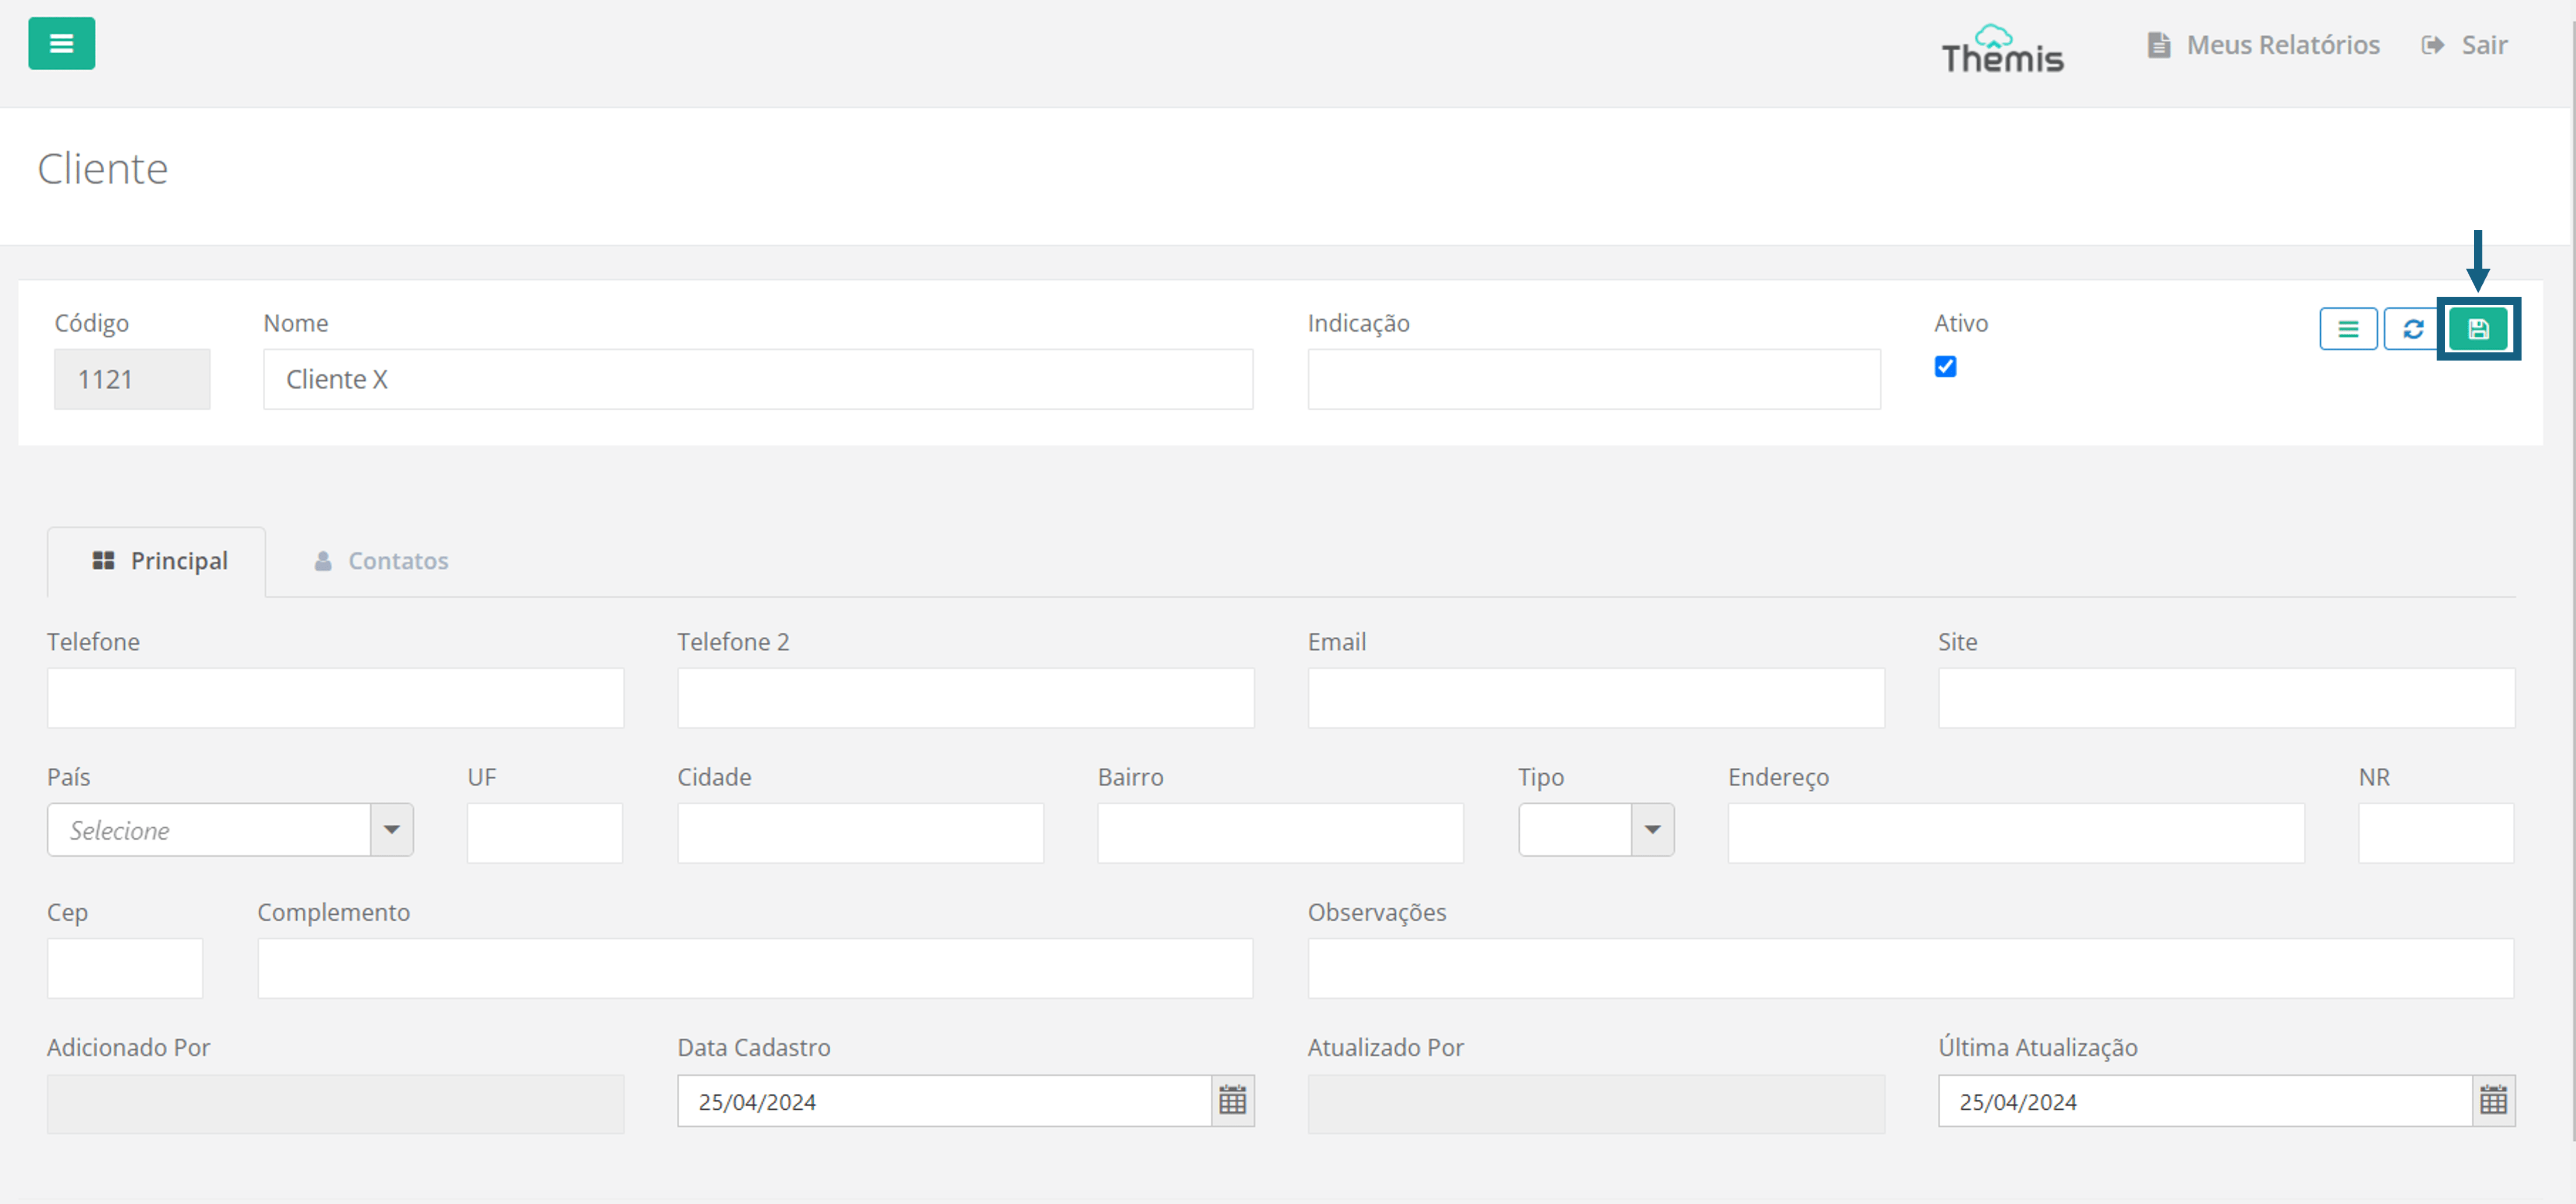
Once you have completed the client’s registration, click the disk icon in the top right corner of the page to save all changes:
Editing a Client’s Registration
On the initial Clients page, select the client and click "Open Selected" or double-click the client whose record you wish to edit. The editing screen will open. Edit the necessary fields and click the disk icon to save your changes.
in each field, refer back to Step 3 of the Registering Clients section in this article.
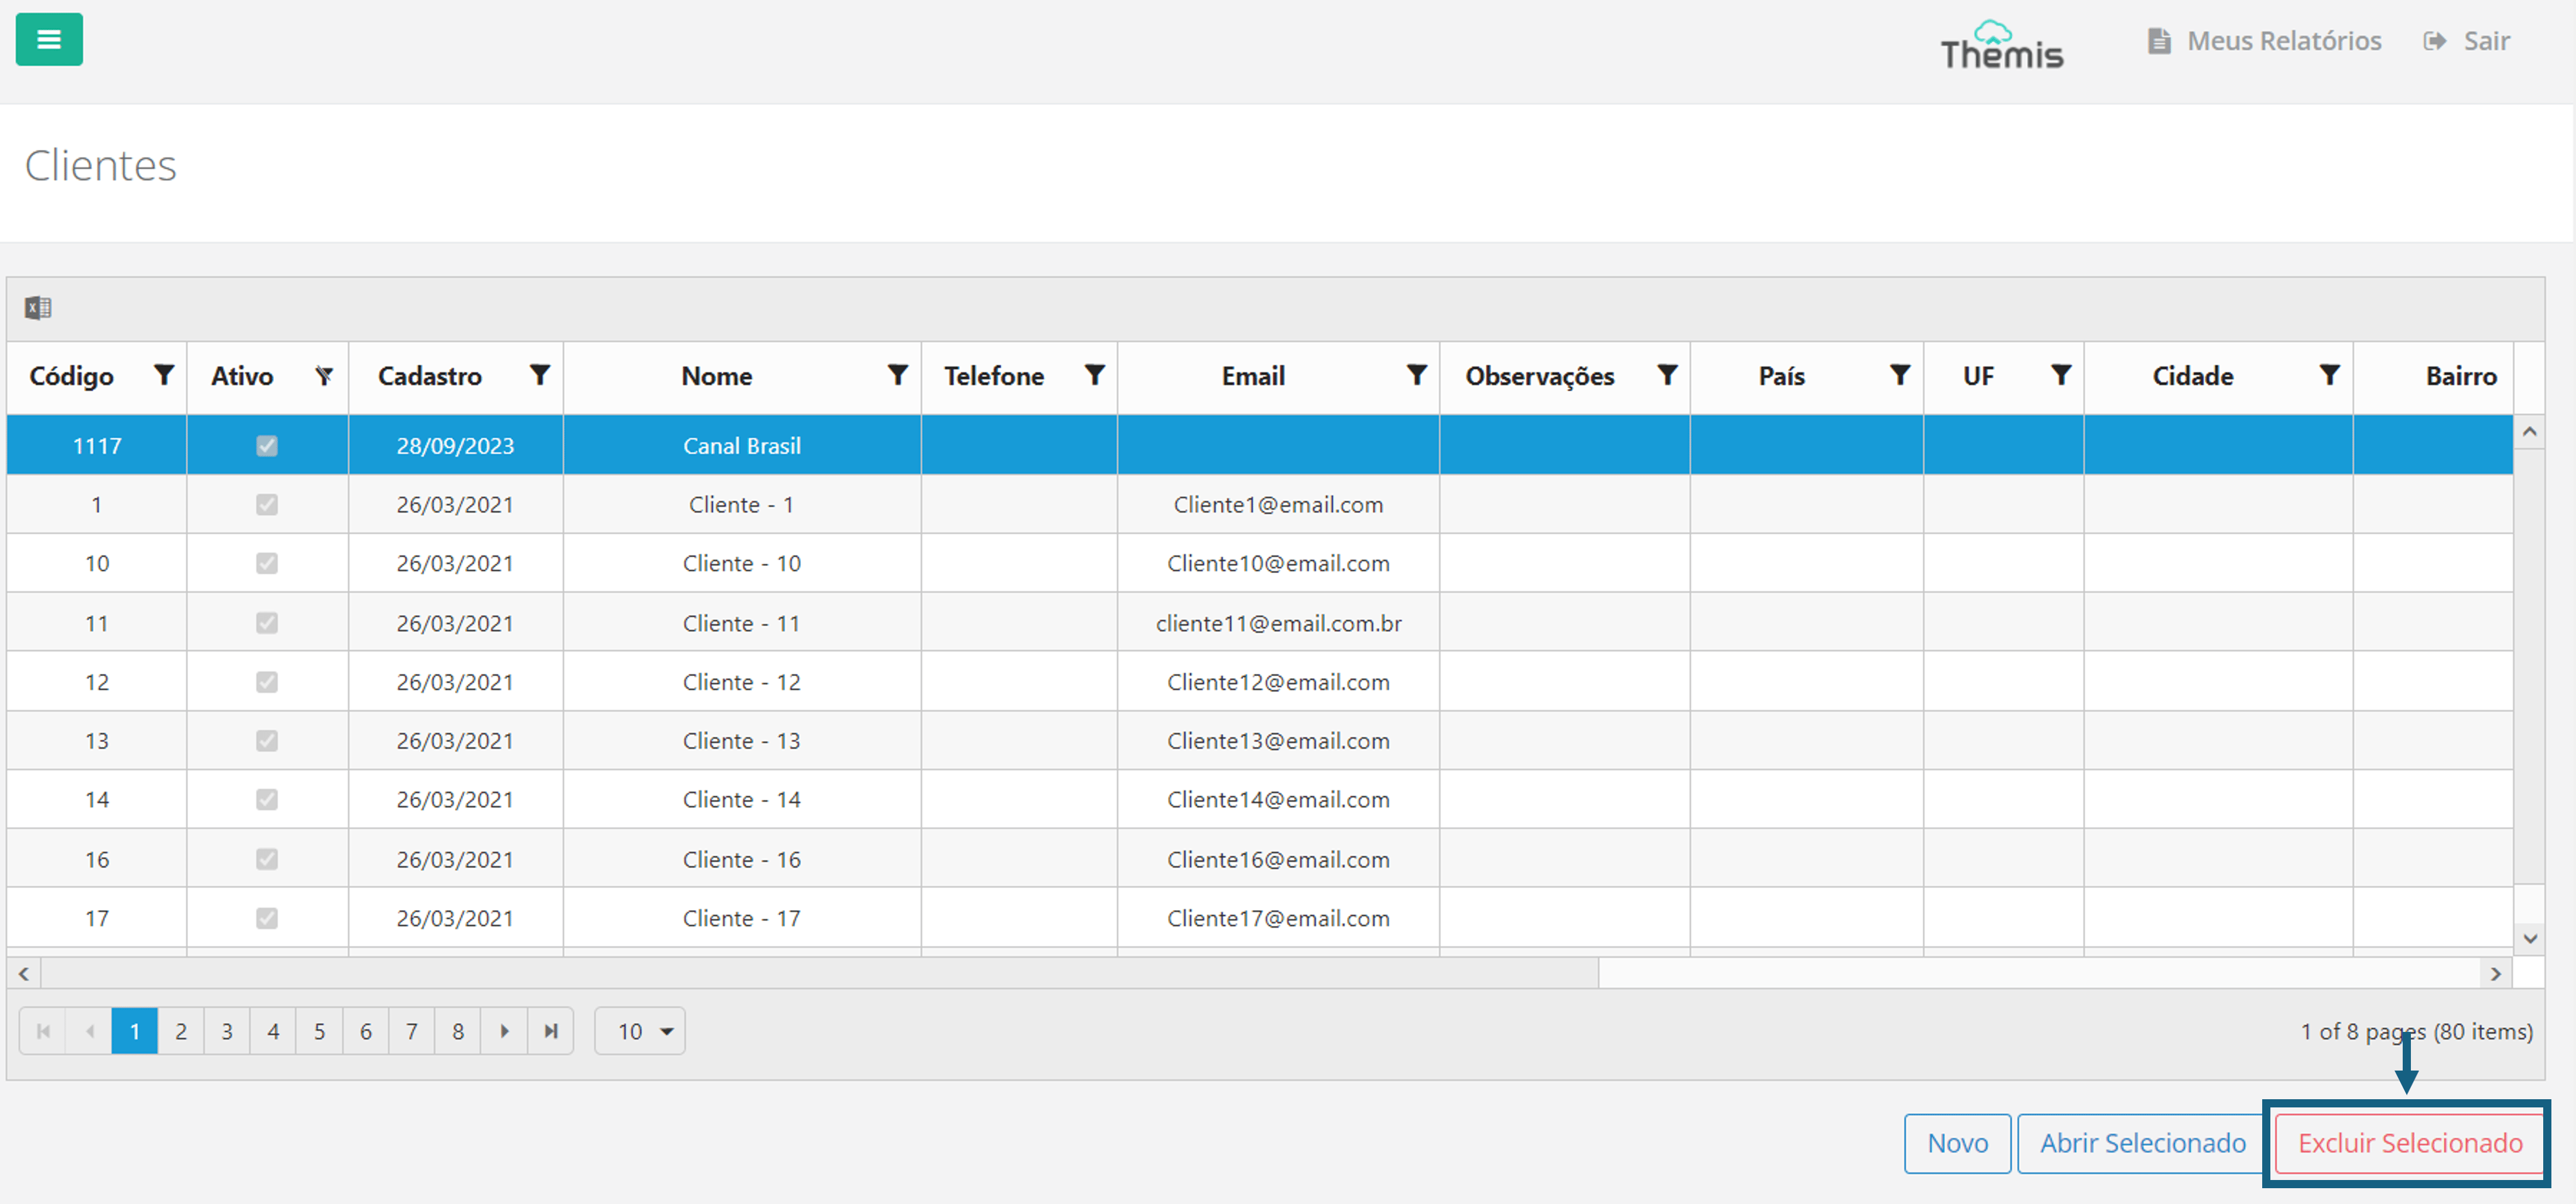
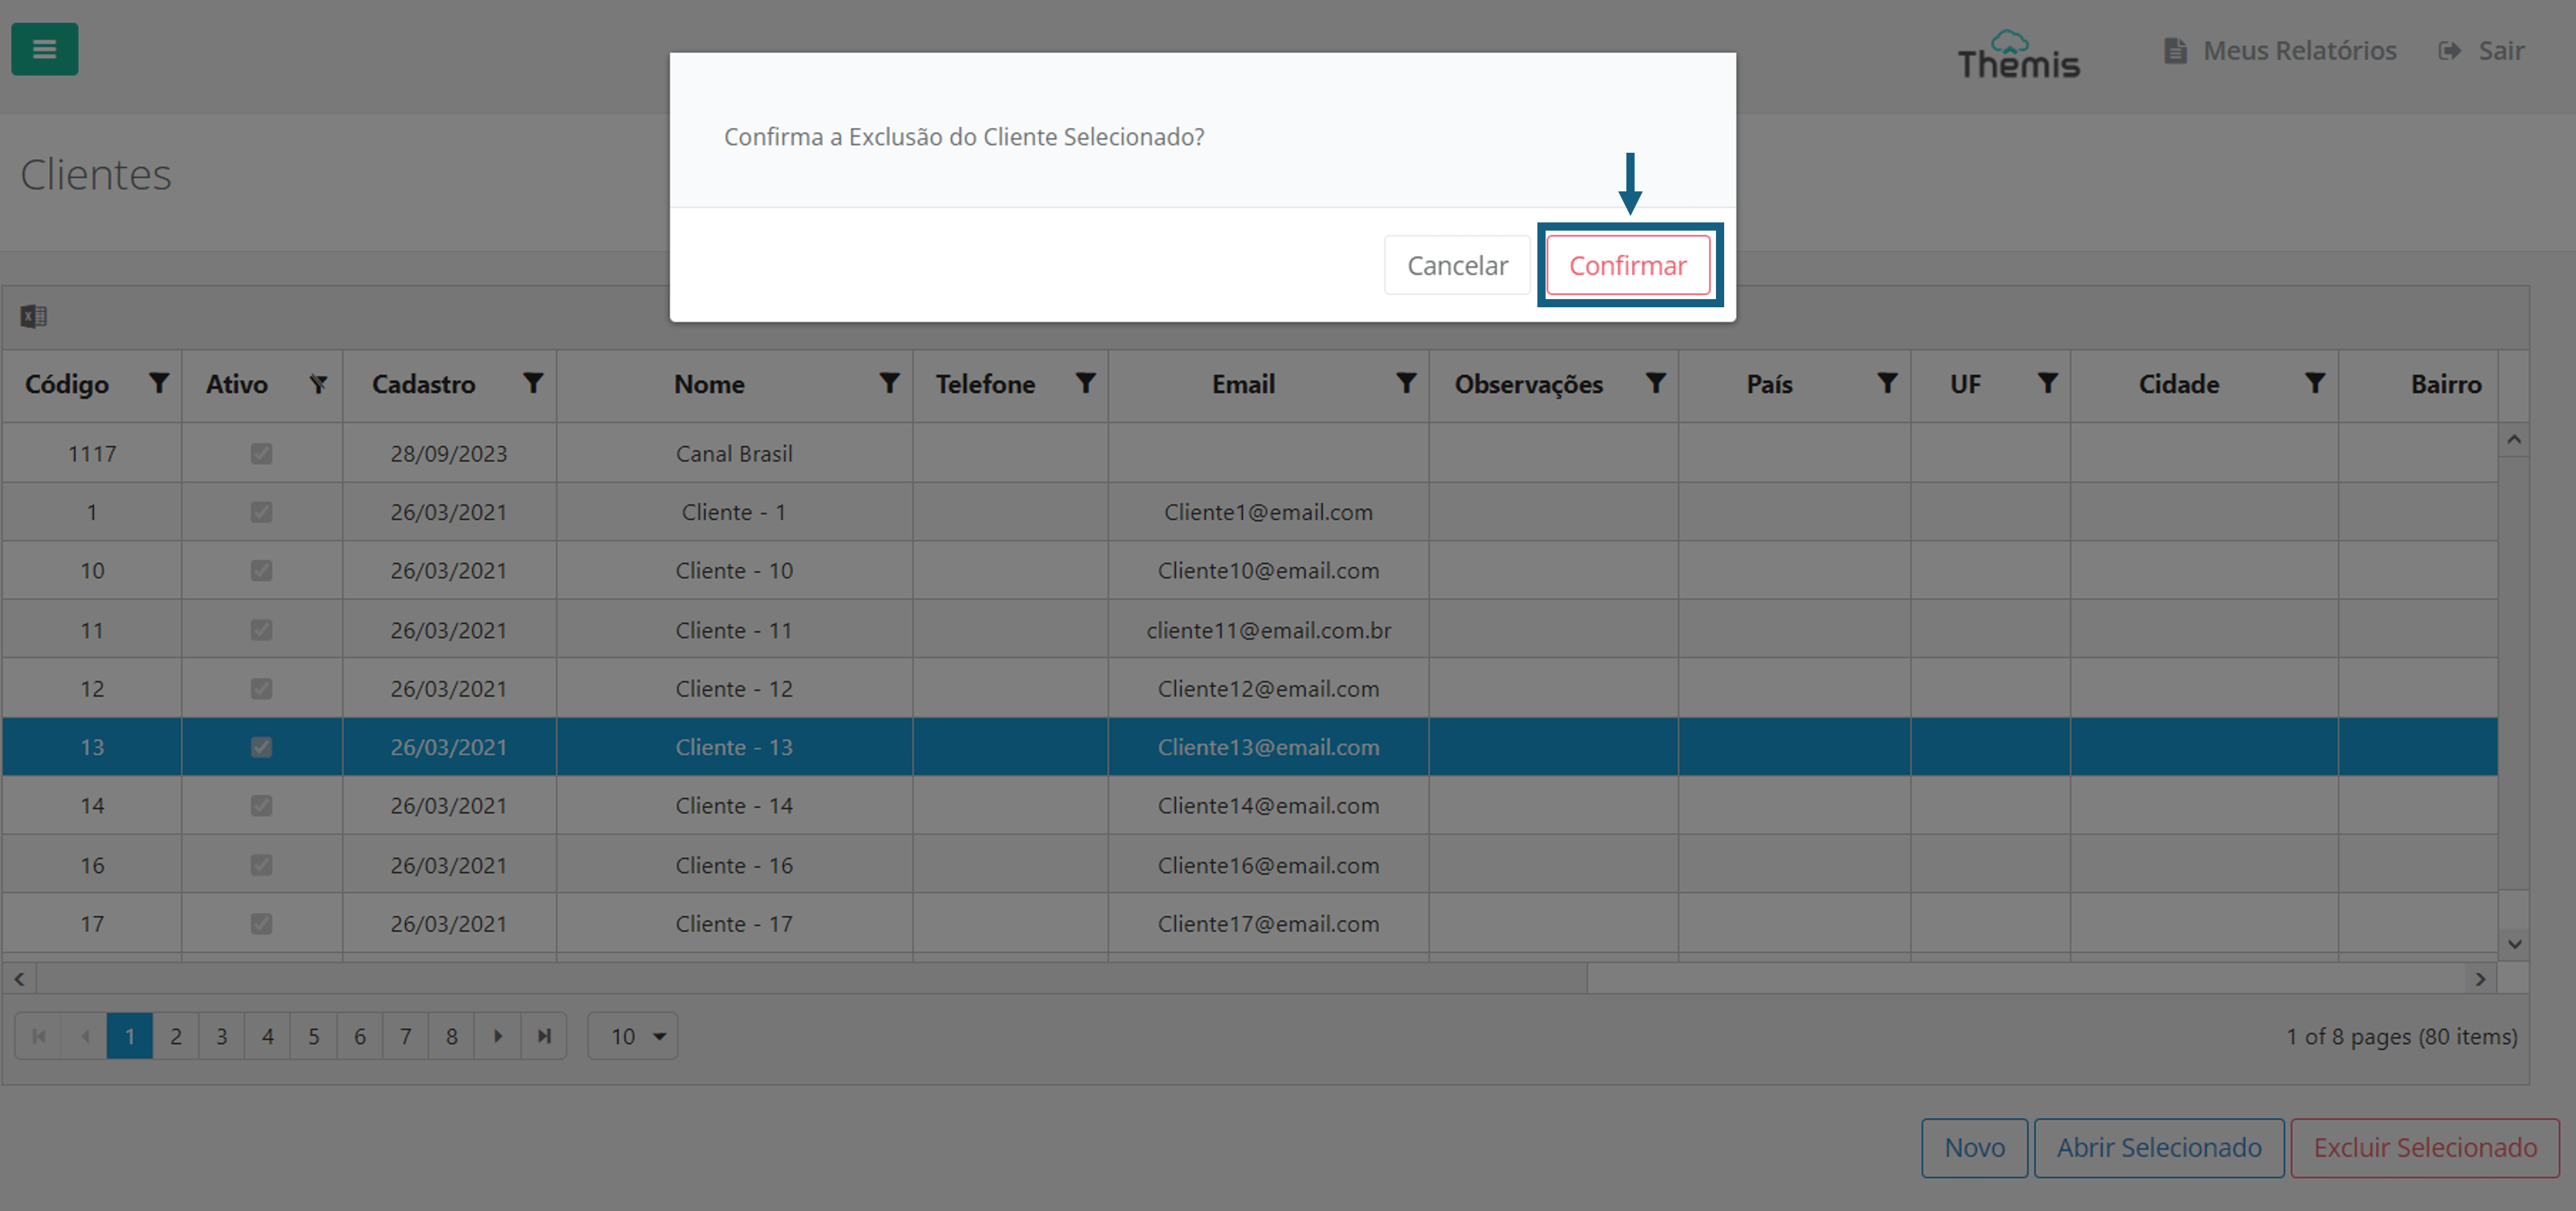
Deleting a Client’s Record
To delete a client’s record, select the client and click "Delete Selected." A confirmation pop-up will appear. Simply click "Confirm." If there are any transactions linked to the client, the system will ask you to deactivate the client instead of deleting them.
